Alphabet Photography/Photographer Research
History of Photography
The history of photography began in remote antiquity with the discovery of two critical principles: camera obscura image projection and the observation that some substances are visibly altered by exposure to light. There are no artifacts or descriptions that indicate any attempt to capture images with light sensitive materials prior to the 18th century.
Photography Timeline


The Camera Obscura
A camera obscura (plural camerae obscurae or camera obscuras, from camera obscūra, "dark chamber") is a darkened room with a small hole or lens at one side through which an image is projected onto a wall or table opposite the hole.
The camera obscura was a vital part in photography's history. Ibn al-Haytham is said to be the creator of the obscura even though many other scientists had experimented with passing light through a small hole before him. However, it was only in the 11th century that Ibn al-Haytham invented a viewing screen to view the inverted image.
This new technology was used for years by famous artists such as Leonardo Da Vinci to help draw portraits but the inverted image could never be permanently transferred to another viewing material, until one day French inventor Nicéphore Niépce found a way to coat a metal plate with a light sensitive chemical which when exposed to light for about 8 hours would create a permanent image.
Since then, the camera obscura has grown and changed as technology has improved but the basic science is still present inside modern day cameras.
Building a Camera Obscura


I built the camera obscura from a cardboard box, showing how simple the science behind the obscura really is. I cut off the flaps of the box so one face was open in order to attach the tracing paper. We then cut a hole in the front of the box on the opposite side, which acted as a camera iris. Then, I taped a lens onto the hole to reflect the light more efficiently causing the light to create an image on the tracing paper. To enhance this however, you could add a mirror within the box to flip the image to the correct orientation for viewing.
Meanwhile I sketched what was visible though the obscura onto the tracing paper leaving you with an accurate representation of what the camera obscura was facing, or in my case you attempted, and drew some mediocre trees.
Meanwhile I sketched what was visible though the obscura onto the tracing paper leaving you with an accurate representation of what the camera obscura was facing, or in my case you attempted, and drew some mediocre trees.
SLR Camera
|
A SLR (single-lens reflex) camera in a small, powerful, compact camera that uses a mirror and prism system. Different from the camera obscura, this camera can take images digitally and store them on an SD card until needed. This type of camera also allows for interchangeable lens as well as many different switches, modes and buttons that can be altered to achieve the look your going for. Just a few of these modes include (P) Programme - that auto chooses aperture and shutter speed for you, (Av) Aperture - which can add a shallow depth of field to your pictures, (Tv) Shutter - this allows light to pass through the camera iris for only a certain period of time, and (M) Manual - which allows for complete control over all camera settings and preferences.

|


|
Composition
composition is how the elements of a photo are arranged. A composition can me made up of many different elements, or only a few. It's how the artist puts those things within a frame that help a photograph become more or less interesting to the viewer.
Types of Composition
|
|

|


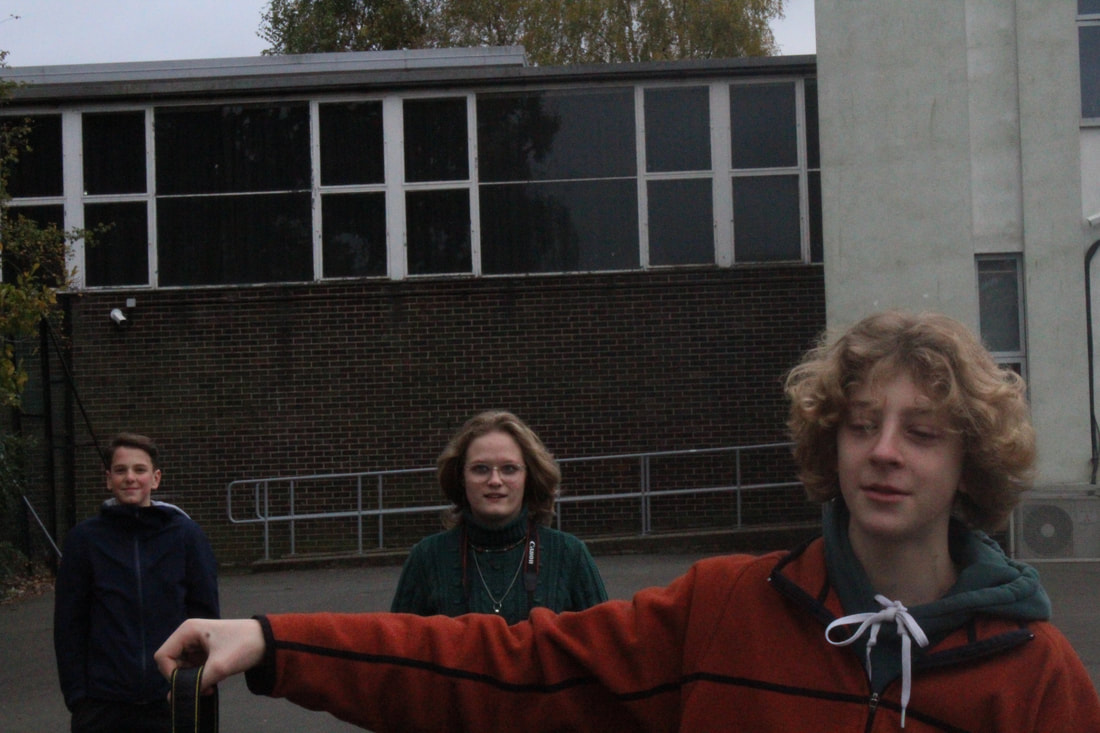
Rule of Thirds
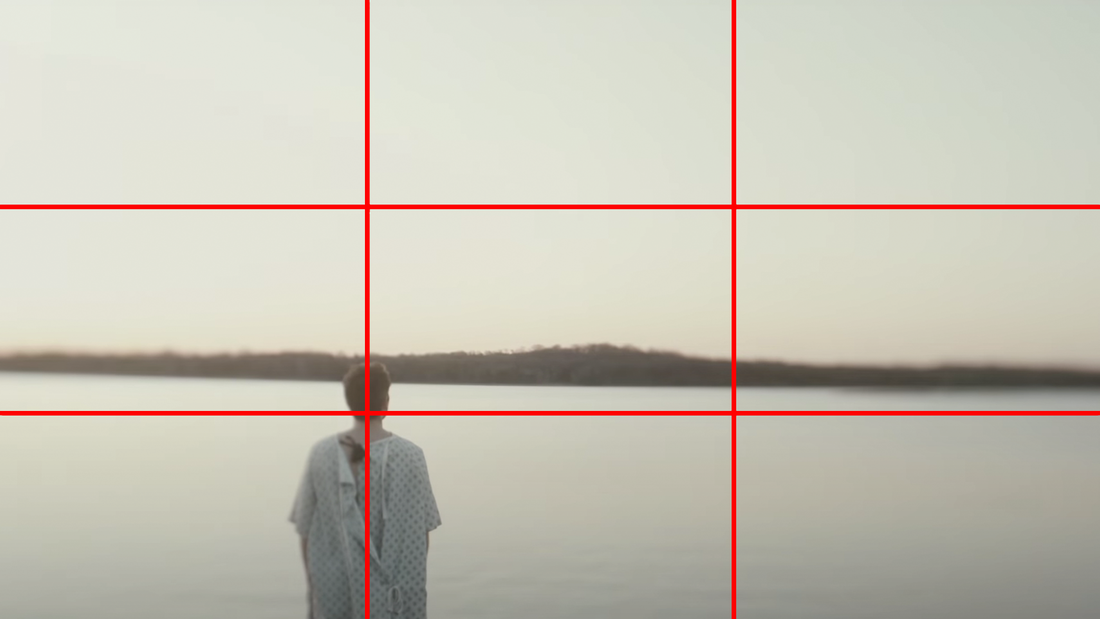
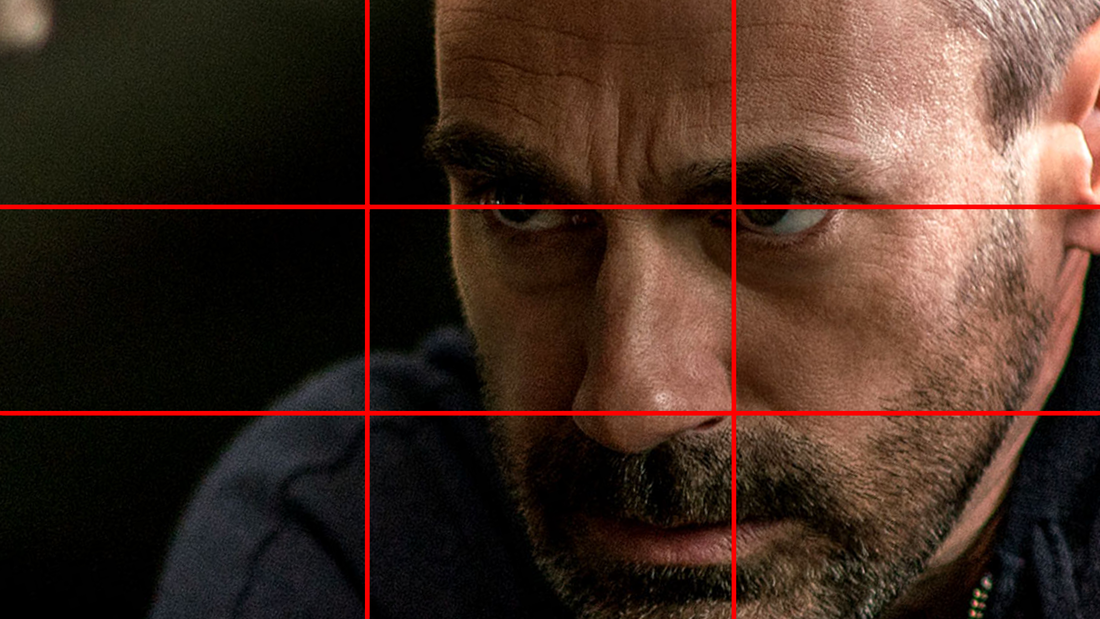
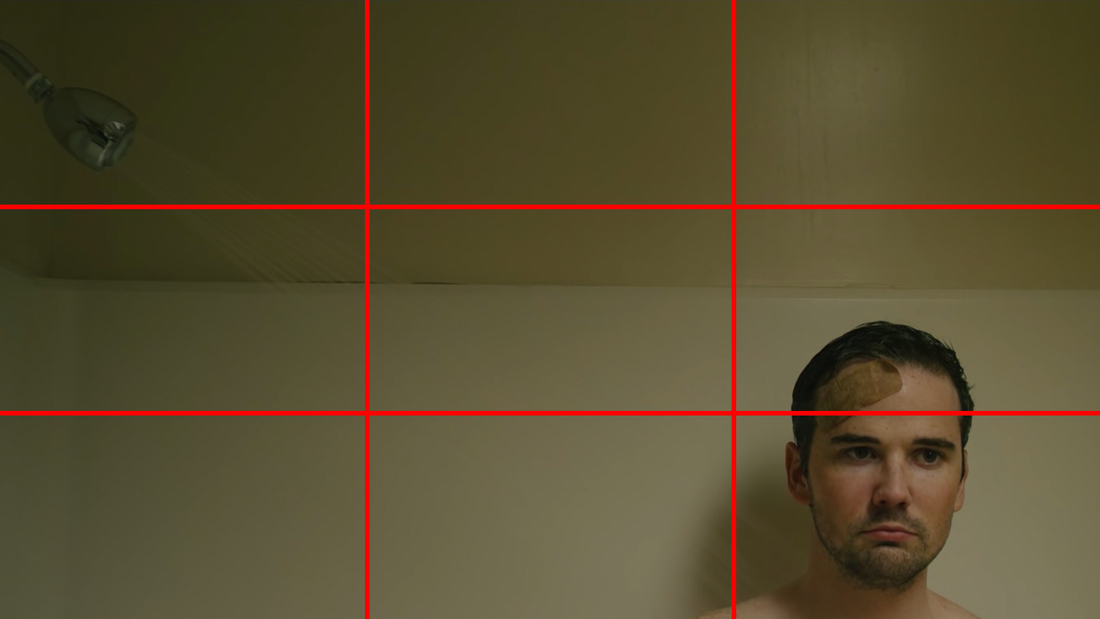
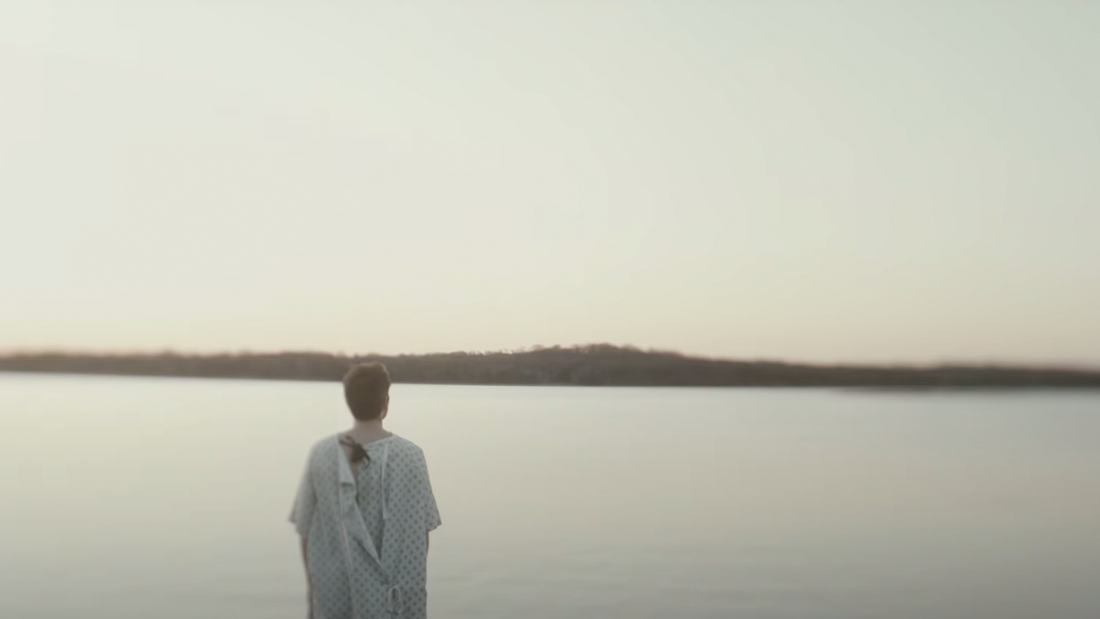
The Rule of Thirds is a way of making your photographs more dynamic and interesting to the viewer. It is a grid that you can overlay whilst taking a photo to be more precise on where your subject is placed.
Instead of having your subject centre frame you could move them so that they are aligned with one of the the vertical lines on the grid making the shot more interesting, or keep them in the middle to announce their importance. By placing your subjects focus points, such as eyes etc. across one of the horizontal lines you can draw further attention to them or convey emotion. The human eye is instantly intrigued towards pictures that line up on this grid making shots that use it more attractive.
Instead of having your subject centre frame you could move them so that they are aligned with one of the the vertical lines on the grid making the shot more interesting, or keep them in the middle to announce their importance. By placing your subjects focus points, such as eyes etc. across one of the horizontal lines you can draw further attention to them or convey emotion. The human eye is instantly intrigued towards pictures that line up on this grid making shots that use it more attractive.
|

|
Once you know the rule you can also break it for effect. By having your subject in an odd, awkward position in the frame, you can emote different moods.
Shutter Speed
the speed at which the shutter of the camera closes. A fast shutter speed creates a shorter exposure, the amount of light the camera takes in, while a slow shutter speed gives the photographer a longer exposure.
Natsumi Hayashi Levitation - Fast Shutter Speed
Natsumi Hayashi is a unique Japanese photographer who creates shots of her levitating in different positions throughout her city. Levitation photos are supposed to emphasise the natural flow of time. By changing the cameras shutter speed to at least 1/500th pictures that are taken come out sharper and and less blurry. Natsumi said 'I must be aware of the shapes of my arms and legs and make slight adjustments in every jump.'

|

|

|
First & Second Response
In this assignment i was asked to create levitation photographs similar to those of Natsumi Hayashi. I wanted to explore the different types of levitation photos that could be taken with each having different connotations.
|
First Response:
|
Second Response:
|
WWW:
- I improved the quality of photos by setting my camera to continuous shooting mode
- My later photos came out sharper due to me using a shutter speed of 1/1500th instead of 1/500th
EBI:
- Models feet could stay slightly flatterer to give more of a levitating feel compared to someone just jumping
- I could mount my camera to a tripod for more precise photos
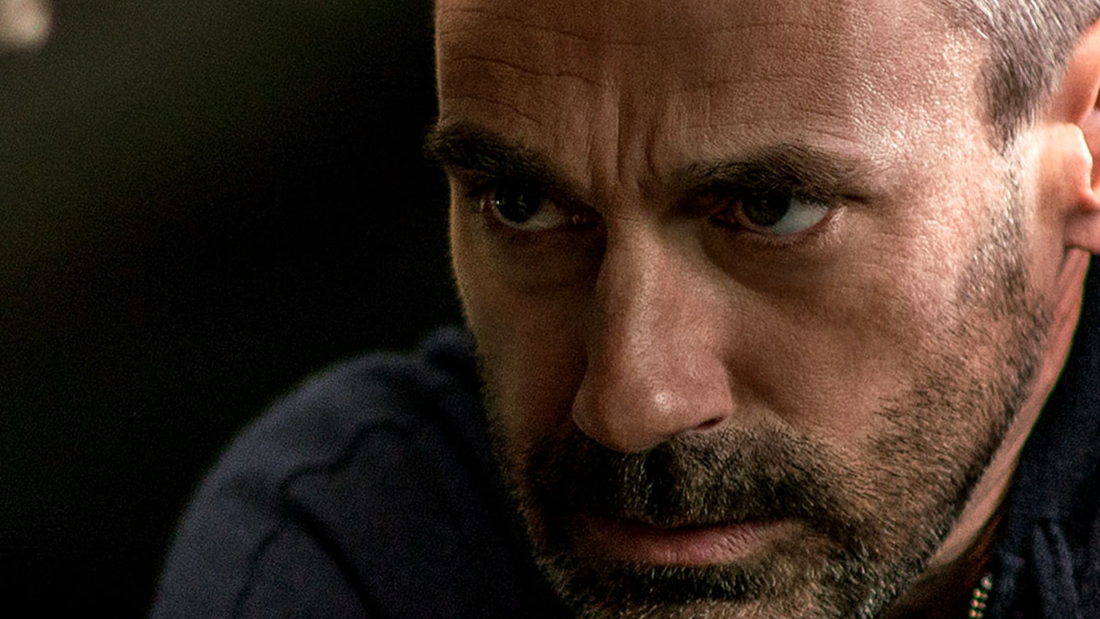
Francesca Woodman - Slow Shutter Speed
Francesca Woodman is a famous photographer known for creating ghost-like images where the subject is blurred against a sharp background. Woodman stars in all her photos and creates shots that are very effective at emoting her viewers.

|

|
First & Second Response
In this task I was asked to create slow shutter speed photos similar to those of Francesca Woodman. I wanted to experiment not only with a ghost-like effect but also see what these type of photographs would look like in colour.
|
First Response:
|
Second Response:
|
WWW:
- I improved and corrected my exposure by increasing my f-stop value to over 15
- I adjusted my shutter speed for different types of shots
EBI:
- I used a tripod to increase stability and gain a sharper background
- I improved and corrected my exposure by increasing my f-stop value to over 15
- I adjusted my shutter speed for different types of shots
EBI:
- I used a tripod to increase stability and gain a sharper background
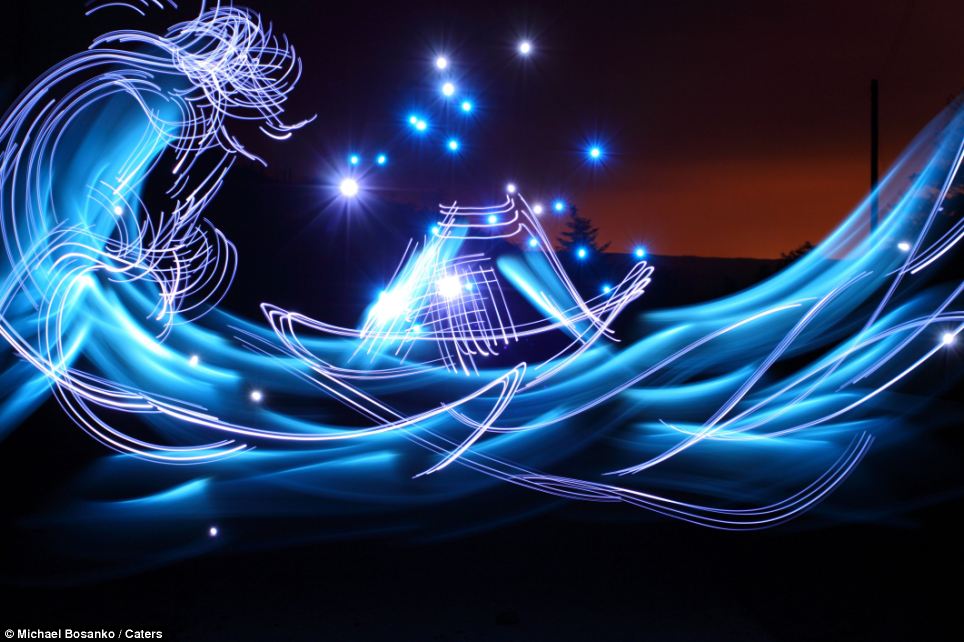
Michael Bosanko - Light Painting
Michael Bosanko is a Welsh, visionary photographer known for his light painted images over notorious landscapes and desolate cities. He has created many stunning shots leaving viewers wondering how he pulled off these somewhat magic images.
|

|

|
Light painting is achieved by setting your camera to a very low shutter speed or more preferably the 'BULB' mode which allows for shots with a shutter speed of however long you can hold down your finger. A tripod or stable surface is also necessary to prevent alterations to your painting. Then you must have a light source, such as a torch that you can point towards the camera and paint pictures with.
First & Second Response
|
First Response:
|
Second Response:
|
WWW:
- I gained a good understanding of how to create a light painting
- I experimented with different light sources and colours
EBI:
- I could be more precise with outlines and shapes
- I gained a good understanding of how to create a light painting
- I experimented with different light sources and colours
EBI:
- I could be more precise with outlines and shapes
Light Painting - GIFS
After I experimented with different light paintings, I decided to attempt to merge two skills I have learned together. i wanted to create GIFS out of the light paintings i had created.

Aperture
In optics, an aperture is a hole or an opening through which light travels. More specifically, the aperture and focal length of an optical system determine the cone angle of a bundle of rays that come to a focus in the image plane.
How Aperture Affects Depth of Field

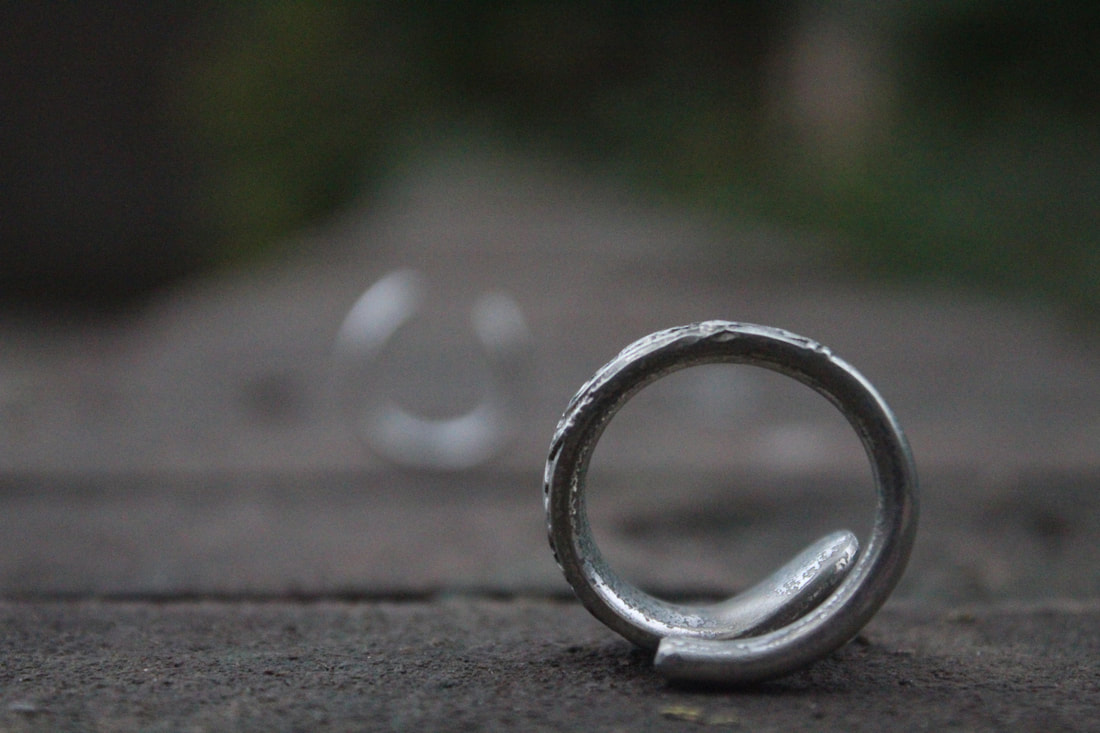
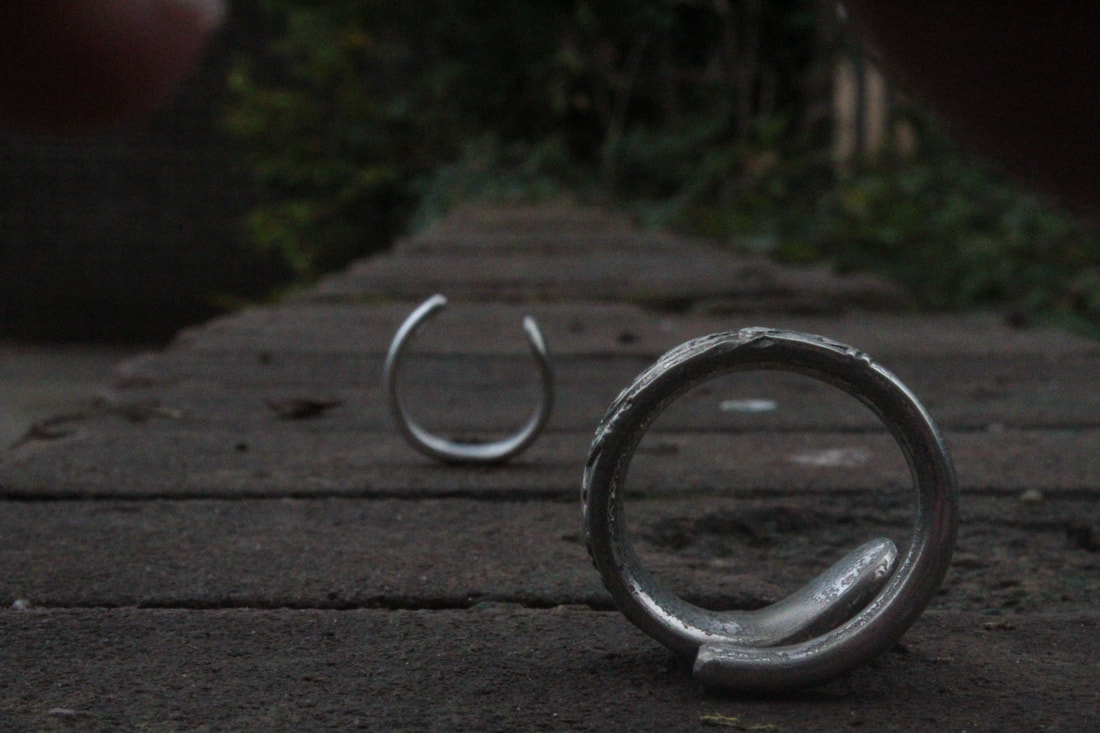
Aperture does not only change the exposure of an image but can also have a heavy impact on the creative look of your image and it's depth of field. To achieve a low depth of field you must bring your f-stop value down to about 4.5, by doing this however you may also need to reduce the iso or increase the shutter speed in order to get a properly exposed photo. There is a setting that does this however, Av - Aperture priority, which automatically changes the surrounding settings other than aperture to correct your image while keeping a certain look.
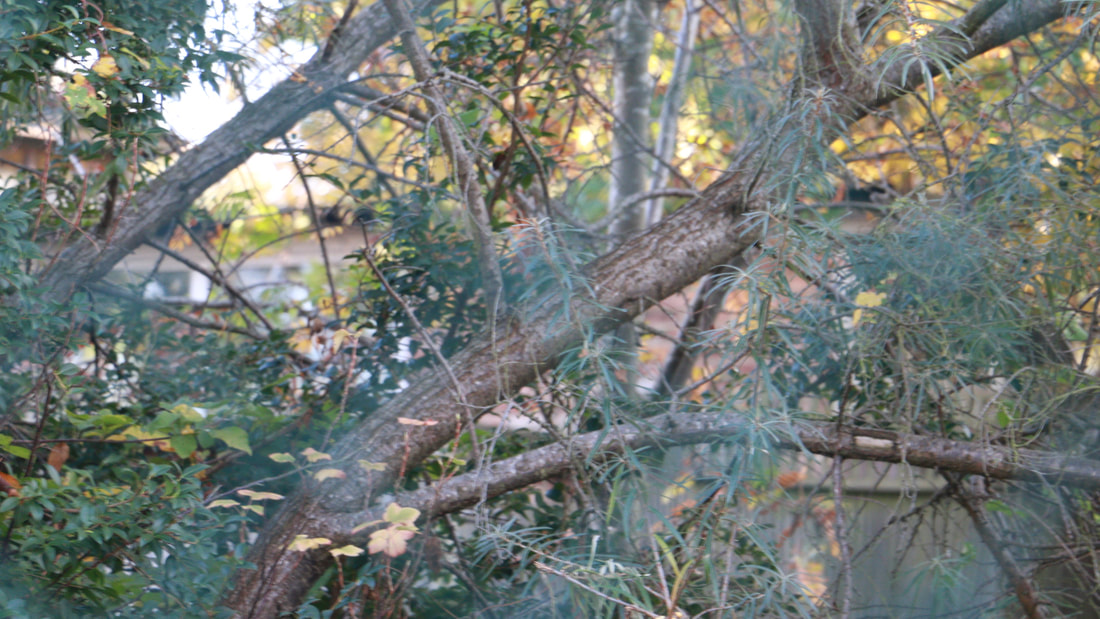
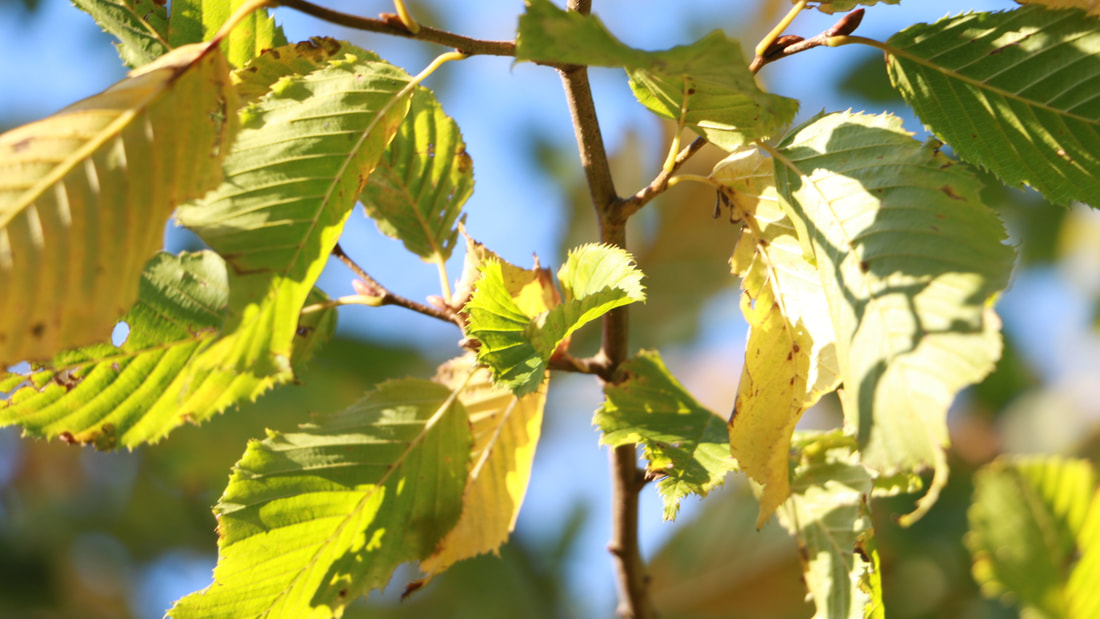
Aperture Experimentation
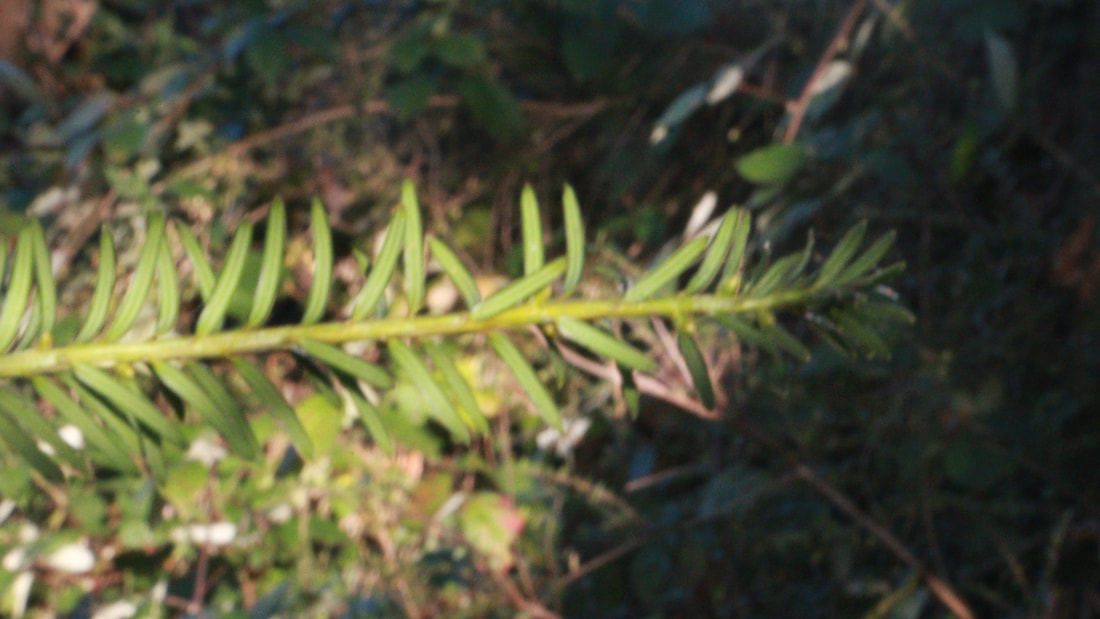
I experimented with different f-stops in order to alter the exposure and depth of field of my particular shot. Below are my photos with their corresponding f-stop values.

F - 4.5

F - 3.5

F - 4.5
F - 4.5
F - 4.5
|

F - 22
F - 22
F - 16
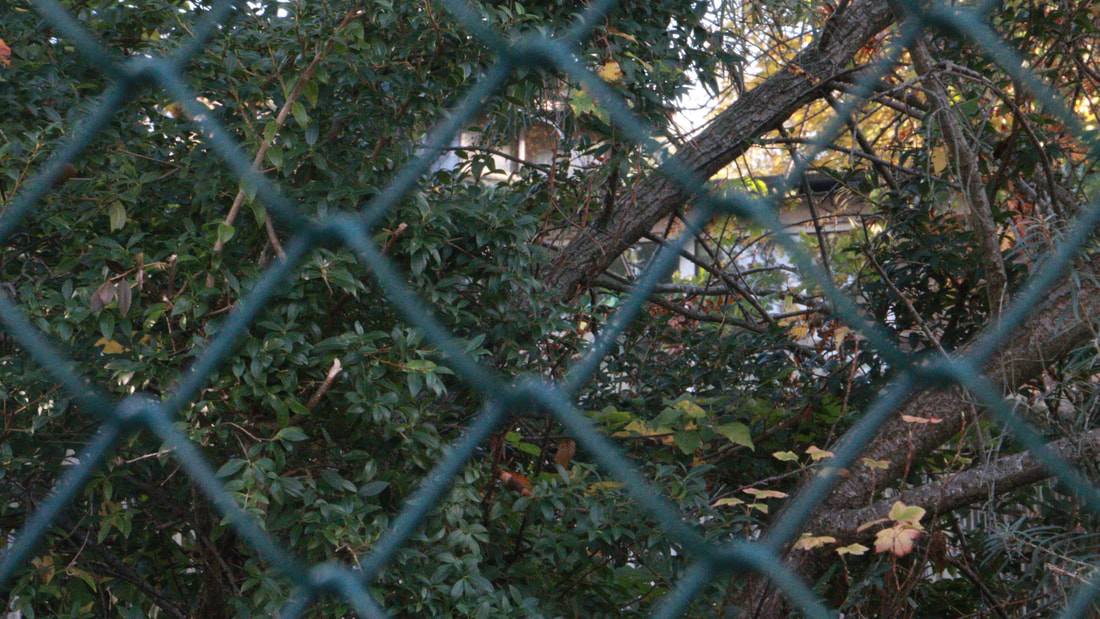
F - 22

F - 16
|
F - 4.5
|
F - 22
|
Adobe Photoshop
Skills & Techniques
Creating a New Canvas/Changing Resolution
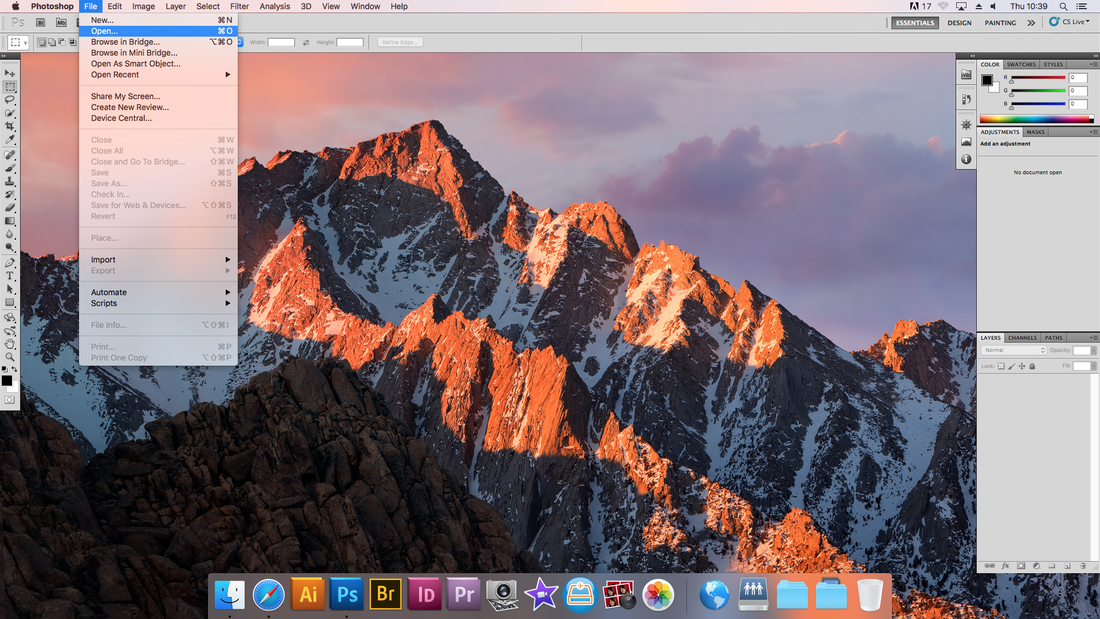
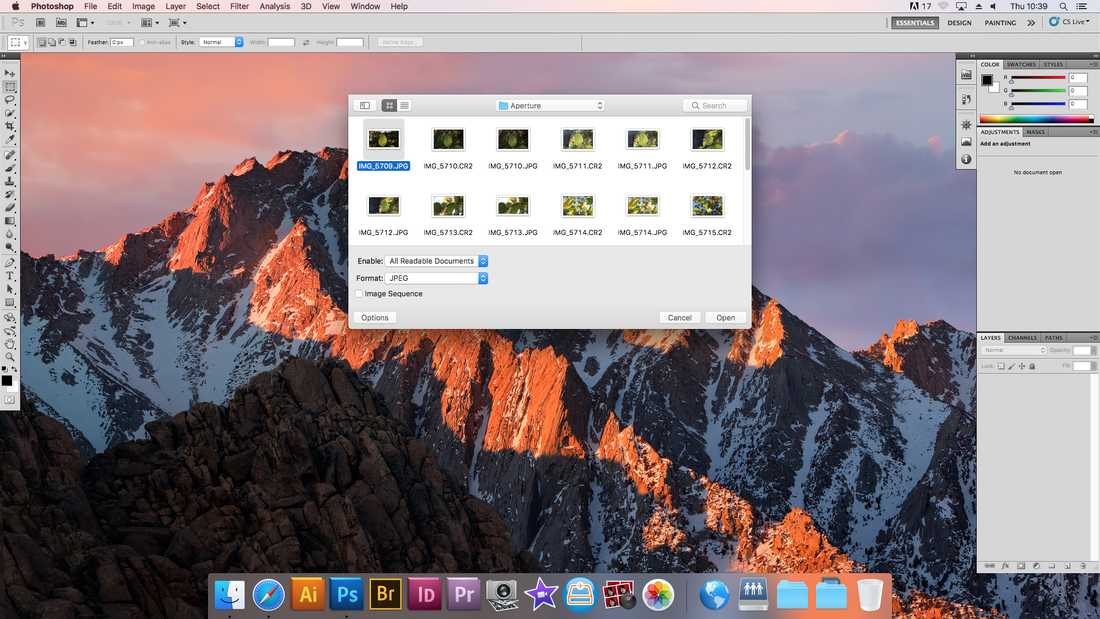
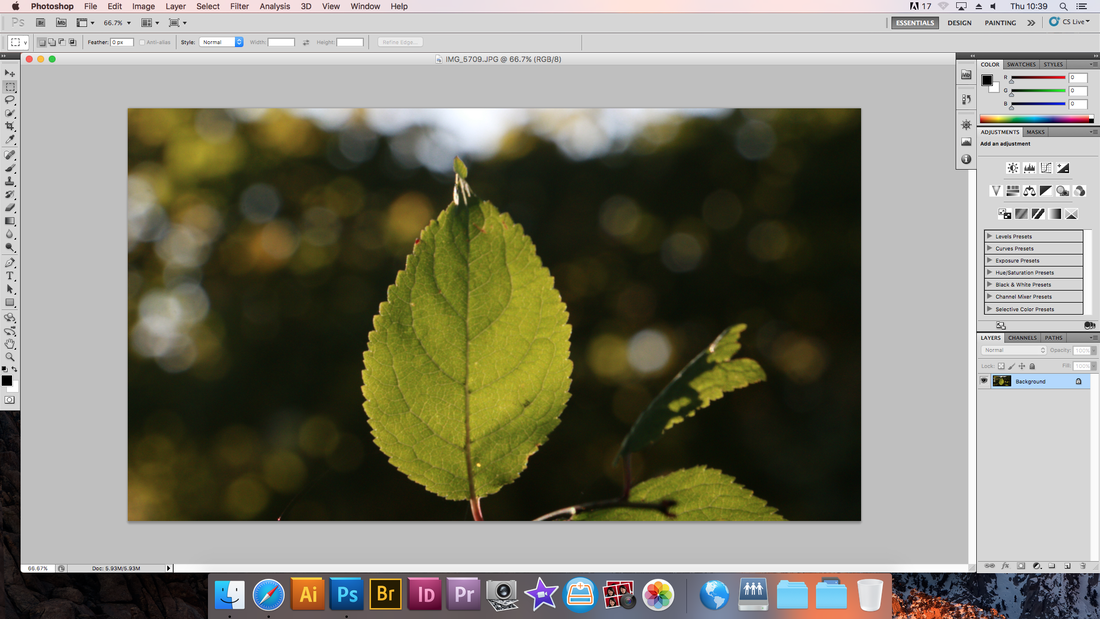
To create a new canvas you must click File - New, then choose an image size of your choice by changing the pixels. To maintain an aspect ratio while changing the image size you can parent the width and hieght. You can also change the resolution depending on what your image is being used for. For example if your photo is for the web you could use 72 dpi since that is the maximum resolution a monitor can display.
|
|
|
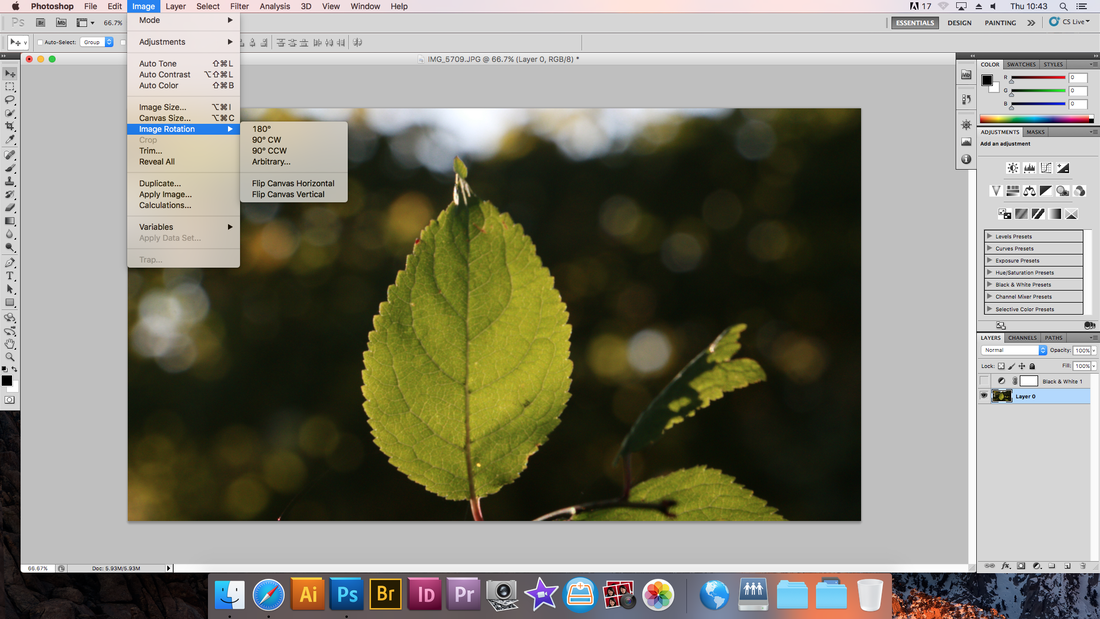
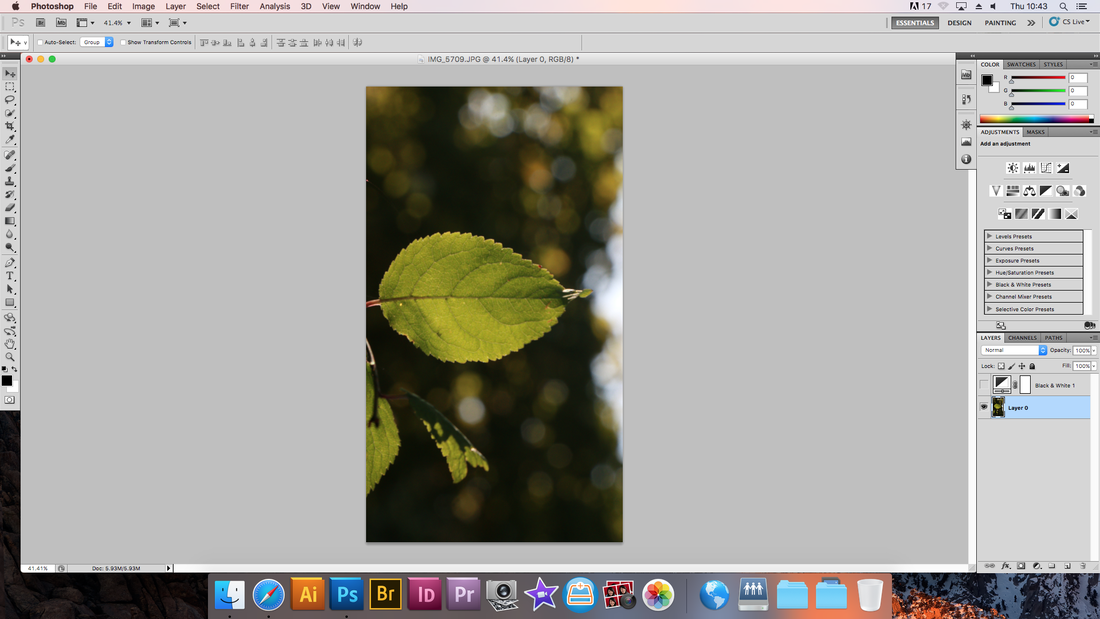
Changing Image Rotation
To change the image rotation, click Image - Image Rotation, then select your preferred rotation. I choose 90' CW which flips the canvas 90 degrees.
|
|
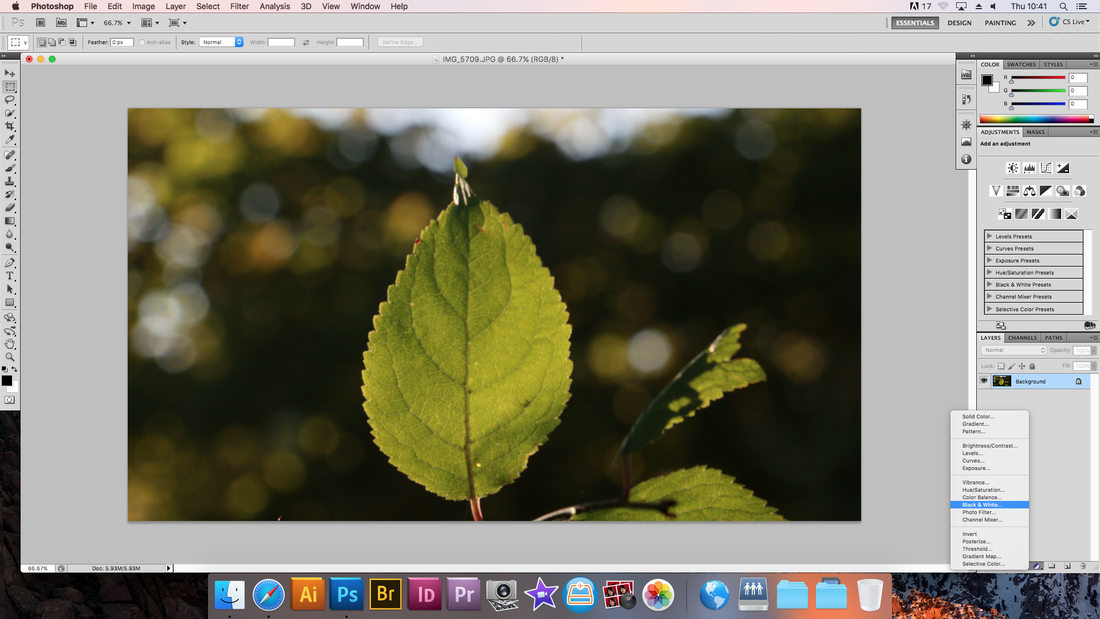
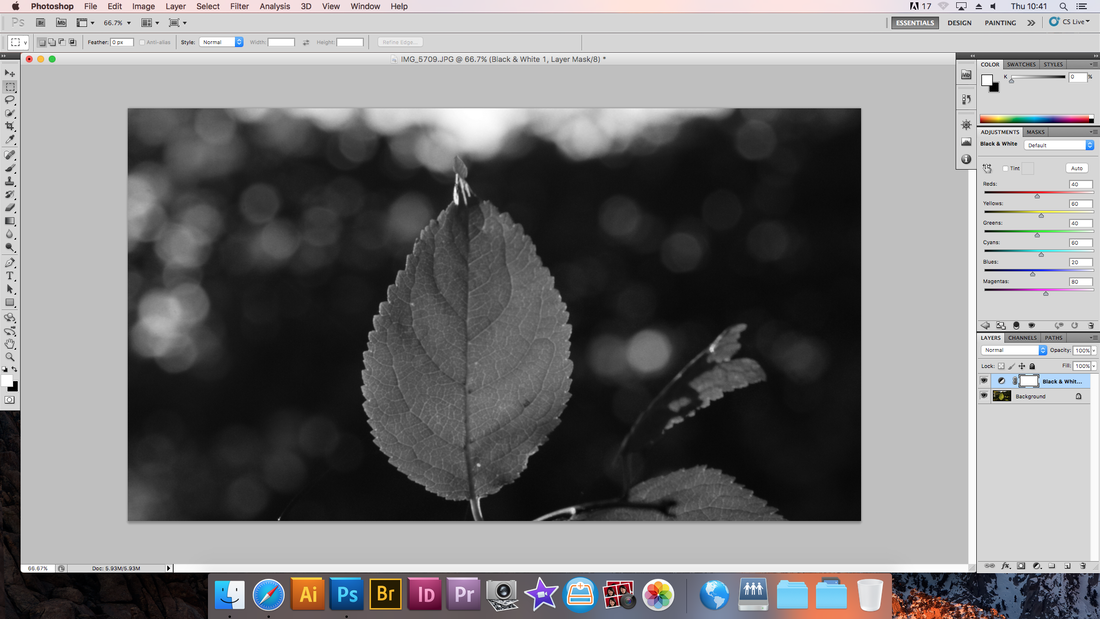
Changing Image to Black & White
To change an image to black and white, you have to open the Adjustments Tab in the bottom right of the screen, then select Black & White. To customise your look further you can also change the brightness of certain colours in the Adjustments Panel, this allows you to control your contrast between certain parts of an image and almost create a sense of colour in a monotone image.
|
|
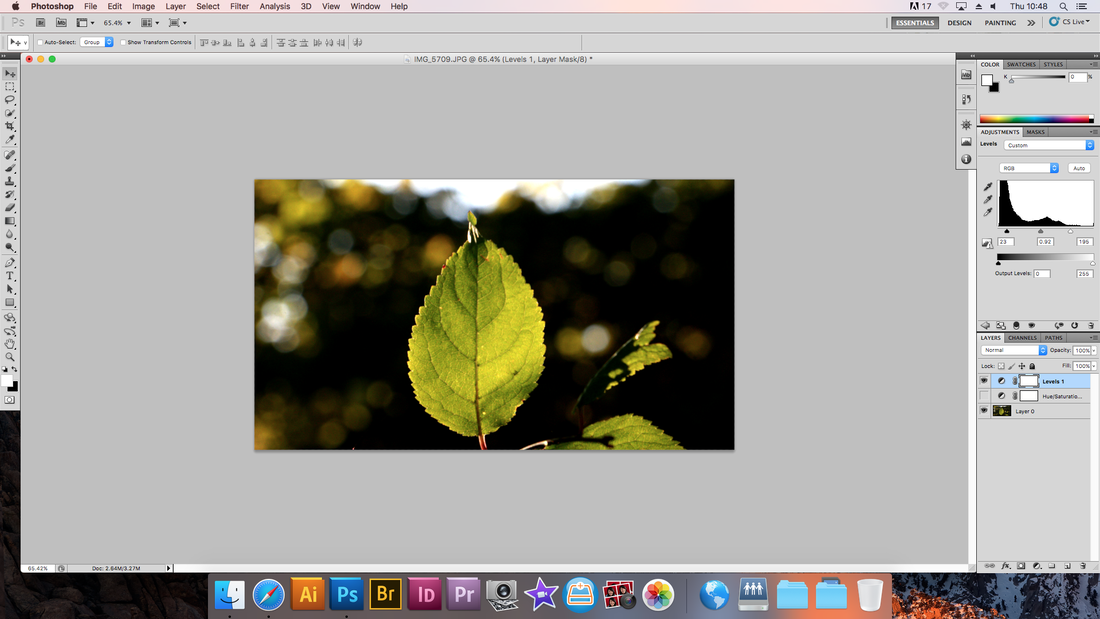
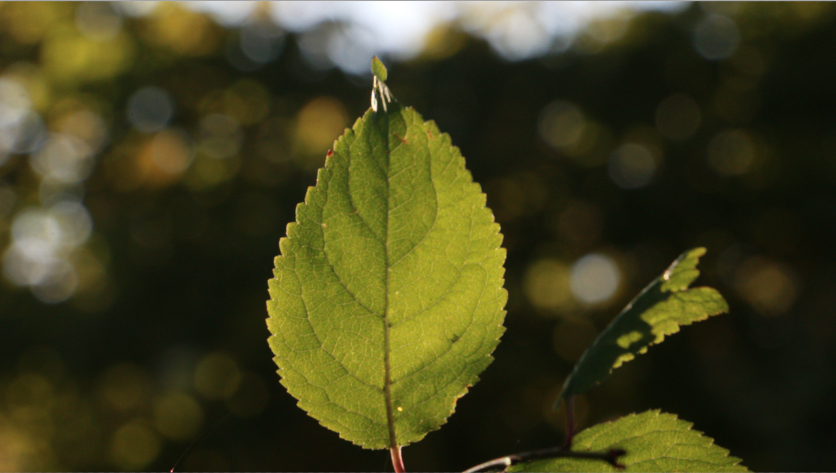
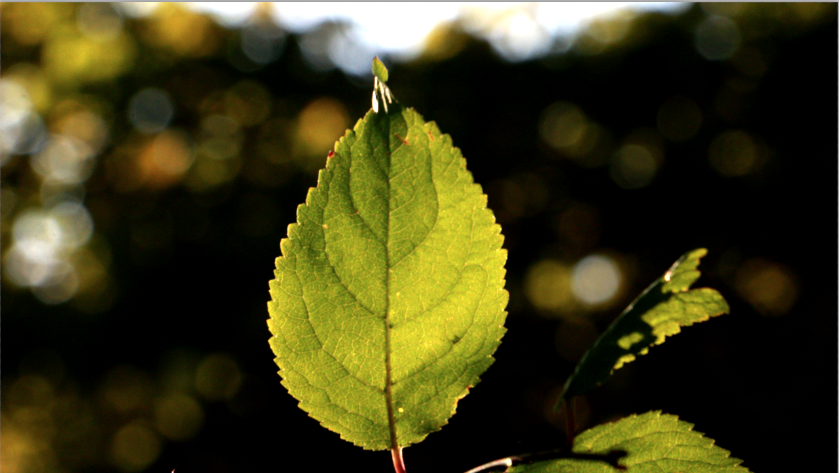
How to Use The Levels Tool
To use the Levels Tool, you must again open the Adjustments Tab and select levels. This will then open up a Histogram in your Adjustments Panel. To change your image contrast you must drag the sliders from either side closer to the middle, depending on the amount of contrast you want to apply.
|
|
|
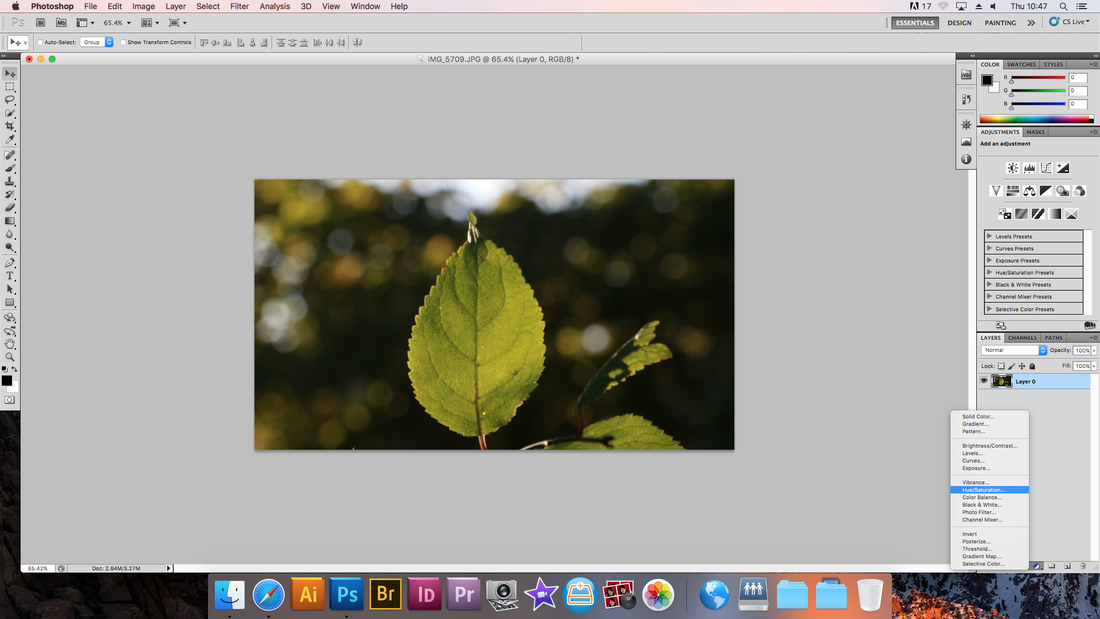
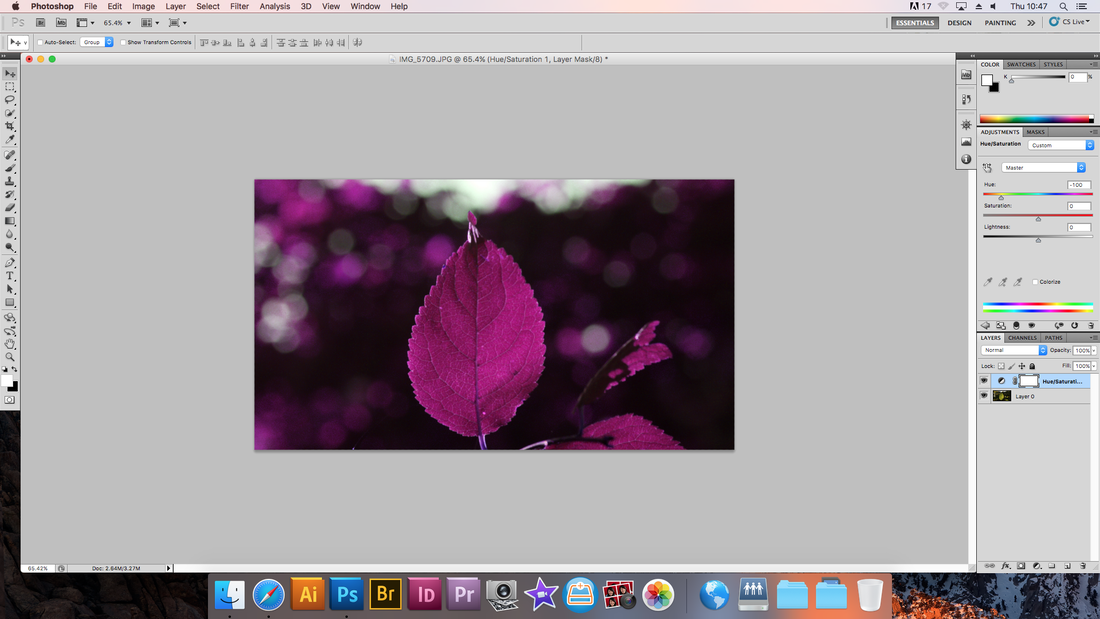
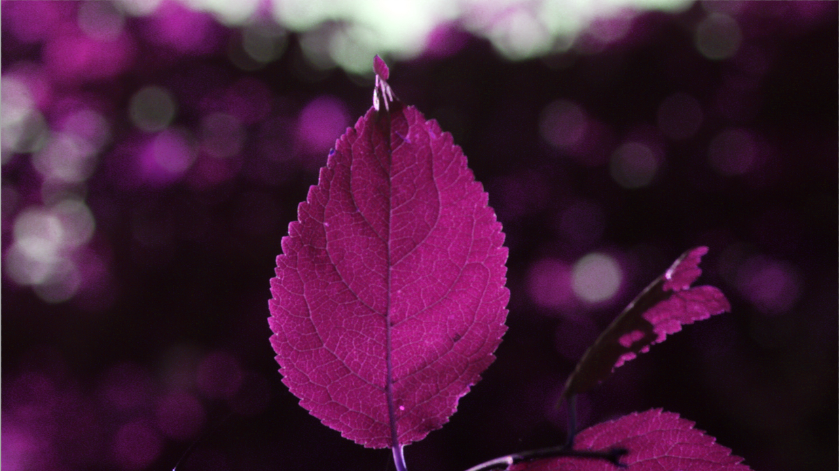
How to Use The Hue & Saturation Tool
To use the Hue & Saturation tool open the Adjustments Tab and select hue & saturation. This will then open up another panel where you can alter the hue slider to change the colours within your image, or the saturation which changes the intensity of colour within your image.
|
|
|
|
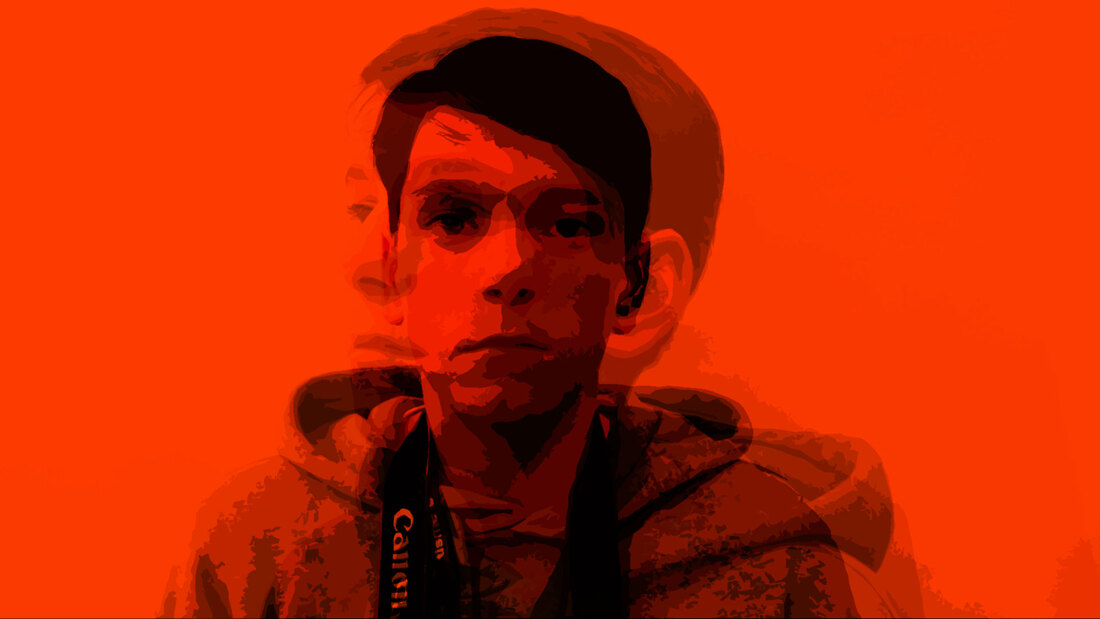
Andy Warhol Style Portraits
To create an Andy Warhol style picture you first need to go File - New then select a photo. Next you need to go Adjustments - Brightness & Contrast and give the image more contrast to enhance the final effect. Then go to Filter - Filter Gallery and select Artistic - Cutout. Move the sliders to your liking, then go to Adjustments - Gradient Map. Change the gradient to the preset colours or customise your own. Then you've achieved a Andy Warhol inspired piece.
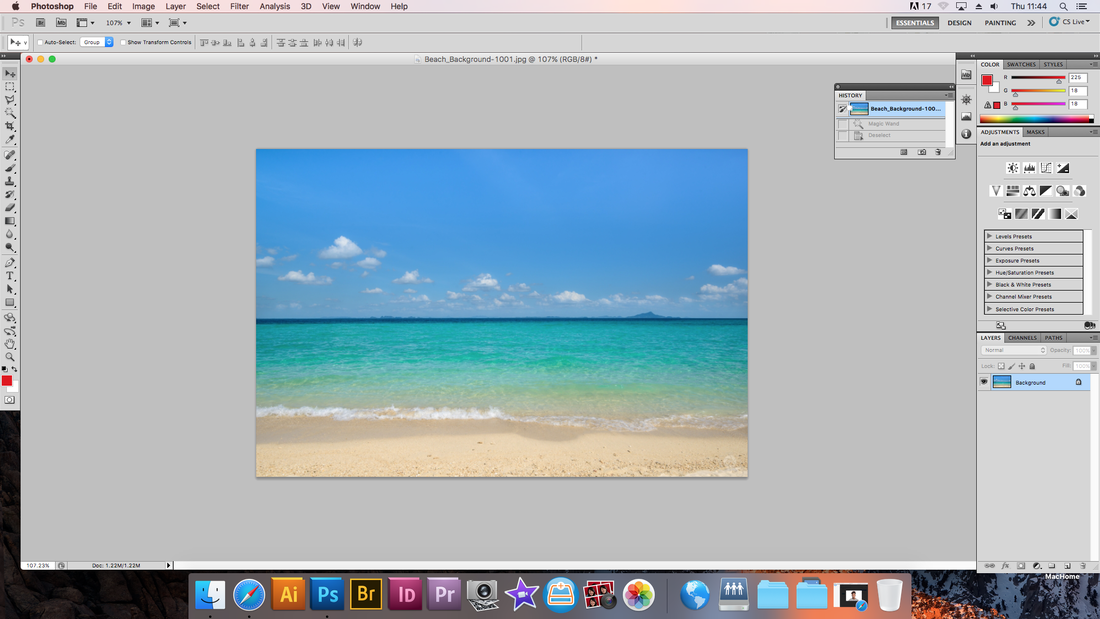
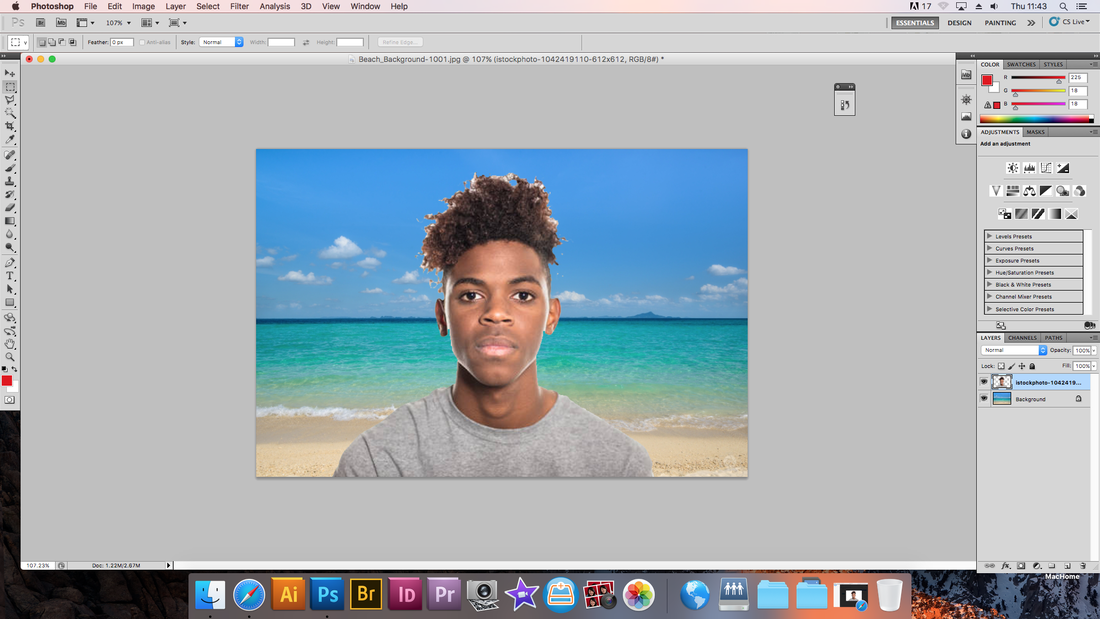
To put a spin on the classic Andy Warhol portrait, I brought two images into Photoshop, then resized and altered the position of one. I then changed the Opacity to fit the look I was going for, and now I have a further layered version of the original style portrait.
To put a spin on the classic Andy Warhol portrait, I brought two images into Photoshop, then resized and altered the position of one. I then changed the Opacity to fit the look I was going for, and now I have a further layered version of the original style portrait.

|

|
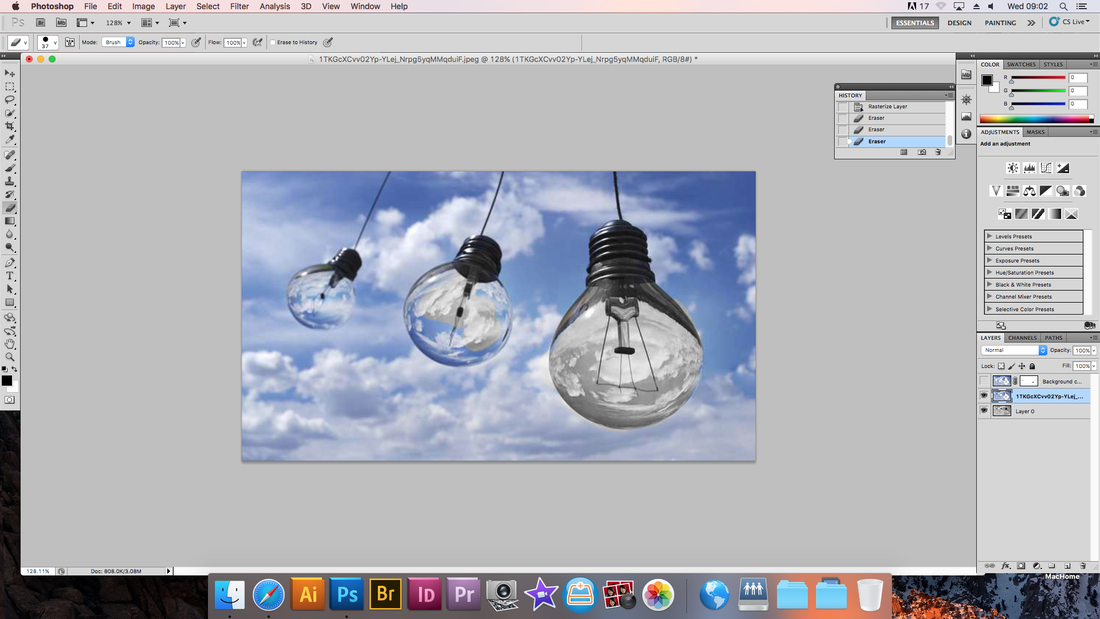
Mixed B&W
To create a mixed Black & White image, you must first duplicated your picture and add a black & white adjustment to it. You can then select the pen tool to mask around the parts you want monotone or select the eraser tool like i did. As your erasing the top coloured layer the layer below which is black and white starts to show through. You now have a mixed black and white image.

|
|
|
Layered Portrait

|

|
The presentation of your weebly is excellent and demonstrates excellent understanding of composition and layout. Please also make sure that all the images shown are your own pictures the images in the Rule of Thirds are not your pictures and need to be replaced.
Your Aperture is excellent and demonstrates your strong understanding of photographic technique. Your photoshop work is good and shows a developing understanding of photoshop technique however you need to upload your giffs alongside their print screens.
Double check all of your explanations to ensure that you explain tasks and processes thoroughly. You also need to expand your analysis of the artists going more in depth about their visual practice and how it relates to your work.
Continue to experiment and practice the techniques introduced during foundation. Make sure to persevere with tasks until you get the required outcome.
